All parts
Dirassa Studio
The desktop app: record, edit, generate quizzes, maps and booklets, and publish to your lessons.
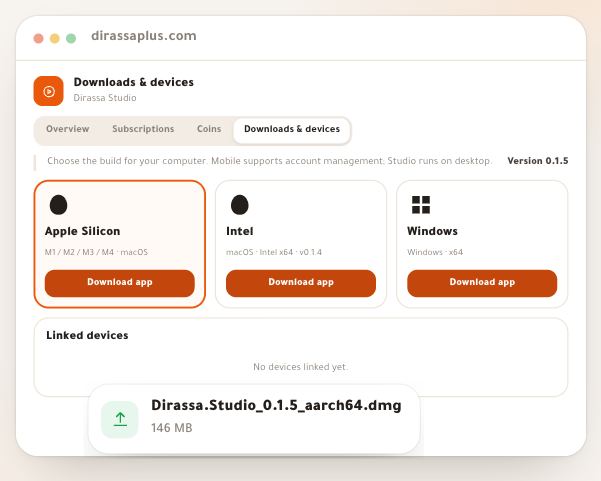
- Install and link Dirassa StudioDirassa Studio is the desktop app: you record and edit your lessons in it, draw questions, maps and booklets from them, then send them to your courses on Dirassa Plus. It all starts with three moves: download the build for your computer, install it, and link the computer to your school from your browser in one click. After that your linked computers show on the web, you revoke the ones you no longer use, and the app keeps itself up to date.5 steps · 10 minutes, mostly downloading
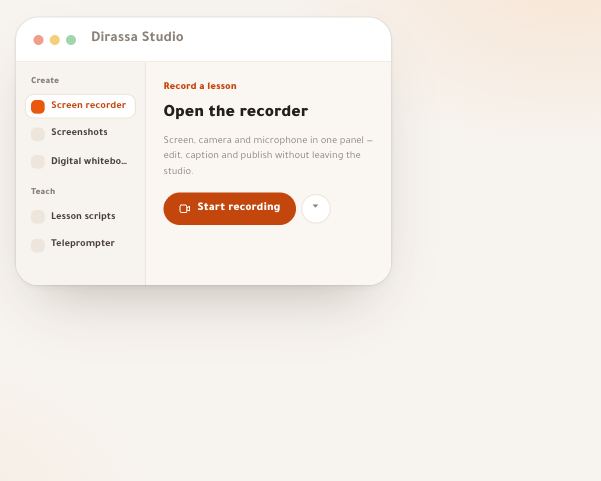
- Record a lesson in Dirassa StudioWhether you are explaining an equation, showing a photo retouch in your editing app or training a sales team on a new tool: Dirassa Studio records your screen, camera and voice each on its own track, on your computer and at the highest quality, then opens the editor so you can clean the take before anyone sees it. To avoid stumbling, write your script first and read it from a teleprompter that never shows in the recording.5 steps · 5 minutes to set up
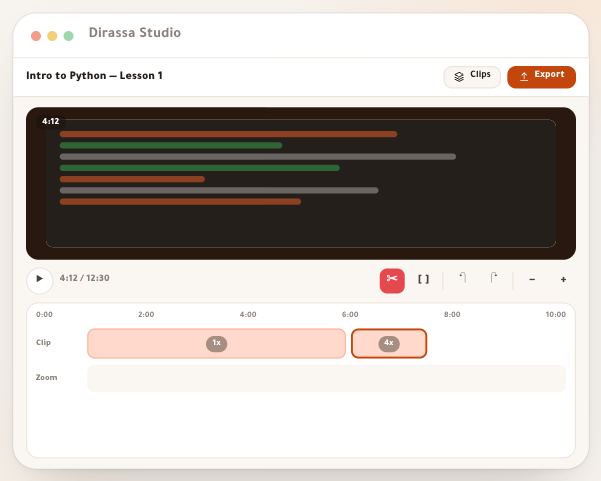
- Edit a lesson in Dirassa StudioThe recording stops and the editor opens. Here you cut what you don’t want, speed up a software install that drags, zoom in on the button you are explaining, remove pauses, filler words and sentences you said twice, put your words on the video, clear the room’s echo from your voice, then export a file ready for your lesson. All on your computer, and nearly all of it without coins.6 steps · 10 minutes for a 20-minute lesson
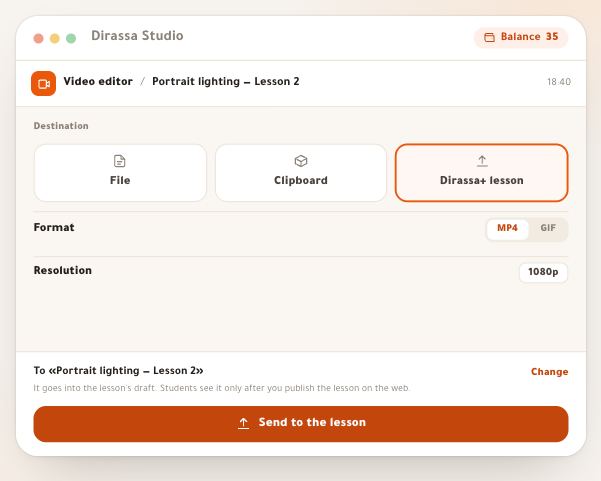
- From the Studio to a lessonFinished and edited your recording in Dirassa Studio? From the export page itself you send it to a Dirassa Plus lesson: pick the course, section and lesson once, and the video is rendered, uploaded and placed in the lesson’s draft — the upload carries on from where it stopped if the connection drops or the app closes. Then you publish the lesson on the web when you want students to see it. The web “Dirassa Studio” page shows your balance, processing minutes and coin activity.4 steps · 5 minutes, not counting render and upload
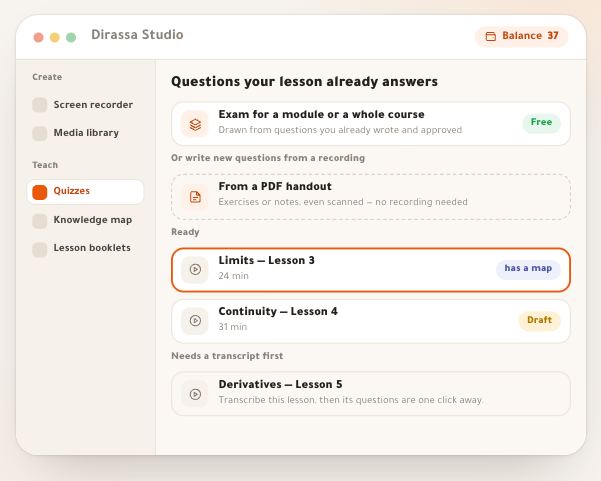
- Questions from Dirassa StudioRecorded and transcribed your lesson in Dirassa Studio? The “Quizzes” module writes questions of seven kinds from it; each knows the concept it tests and the second you explained it at, so a student who gets it wrong goes back to that moment. You review them one by one, send them to a lesson on Dirassa Plus, and later draw a module or course exam from them for free.7 steps · 5 minutes
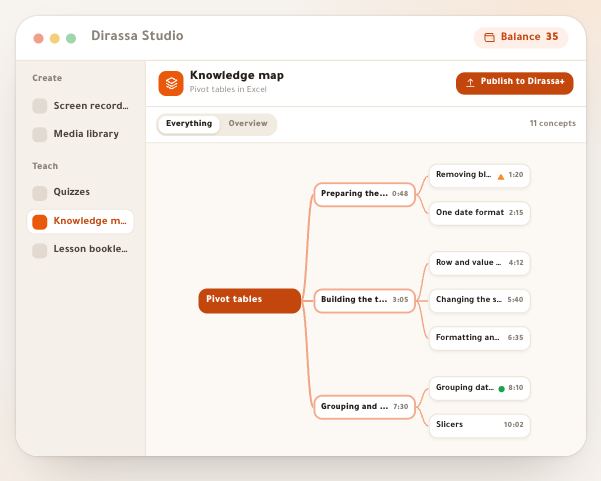
- The knowledge mapThe knowledge map draws your lesson’s concepts as a tree: the topic at the root, the main threads beneath it, the details under each thread, and every concept knows the second you explained it at. Dirassa Studio builds it from your recording’s transcript for 2 coins; you edit it for free, without limit; then you publish it to the lesson, where students find it under the video: tap a concept, read its explanation, then jump to its moment.4 steps · 5 minutes
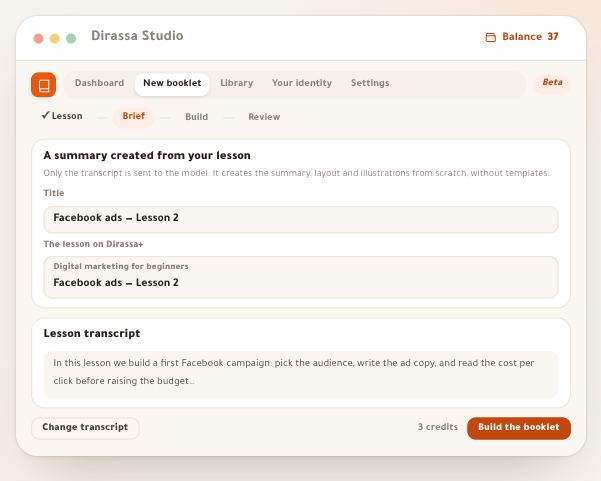
- Lesson bookletsTaught a lesson and recorded it? The “Lesson booklets” module reads what was said, writes its chapters, designs its pages in your identity and draws its figures: a complete A4 booklet, with a cover, an introduction, chapters and a closing page. You edit it by clicking anything on its pages, then save it as a PDF to print, or attach it to its lesson on Dirassa Plus for your students.4 steps · A few minutes, then as much editing as you like
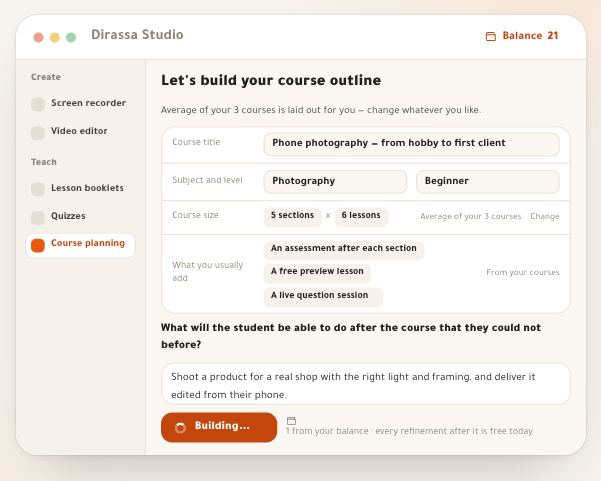
- Course planningHave a course in mind but no starting point? The “Course planning” module writes its whole outline: sections, and in each one lessons with their title, type and estimated length, plus assessments and a free preview lesson if you want them. You edit it by hand, refine it for free, then publish it as a new draft course on Dirassa Plus, every lesson “coming soon” until you fill it.4 steps · A few minutes for the first outline, then as many edits as you like
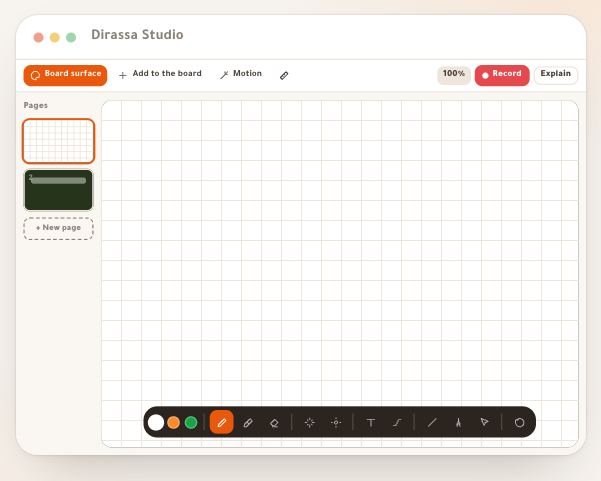
- The digital whiteboardThe digital whiteboard is a board you write on by hand as you would in class, with pages to flip through and tools made for explaining: a pen whose ink fades, a laser, a curtain that reveals little by little. You prepare your boards yourself or from your lesson script, then record: the video shows the board alone, with your voice and camera, ready to edit. It works for a maths teacher as well as a marketing coach, a programming trainer or a photographer.4 steps · 5 minutes to prepare, then the length of your lesson
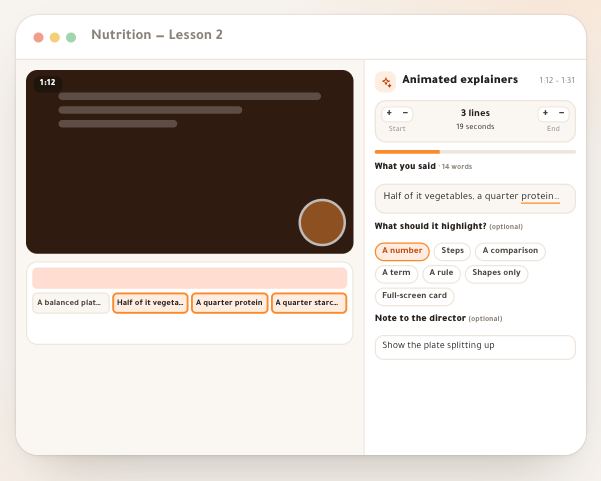
- Animated explainersYou say “half the plate vegetables, a quarter protein, a quarter starches”, and the learner only keeps what they saw. “Animated explainers” turns the part you said into an explanation board in your colours: the model draws it step by step, and the engine animates it in time with your words. It lands on its own track in the video editor, over your recording; every element is edited with a click, for free, and it’s drawn into the video when you export.4 steps · A few minutes per clip
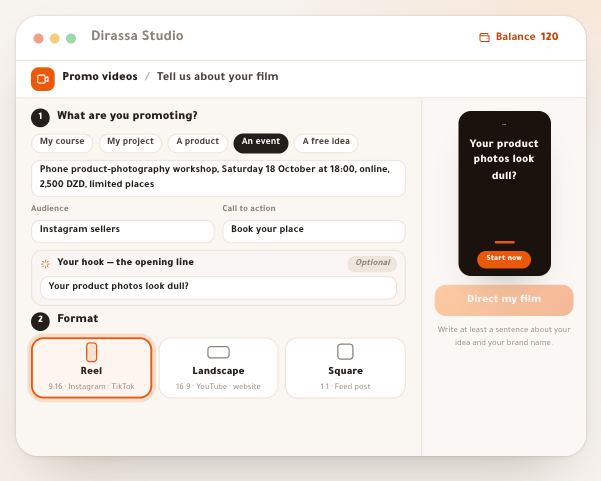
- Promo videosLaunching a course, running a photography workshop, selling a product, hosting an event? Dirassa Studio’s “Promo videos” module takes your idea, its facts, your logo and your brand color; the director writes the story and builds every shot for your idea, with motion and music, and a voiceover if you want one. You then edit texts, timings and transitions for free, rebuild a shot with a note, and export an MP4 ready to post.5 steps · 10 minutes
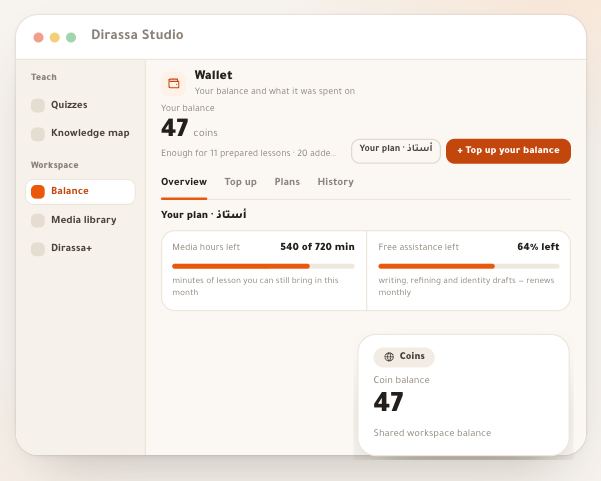
- Coins in Dirassa StudioCoins are the currency of all of Dirassa Studio: the same balance pays for knowledge maps, questions, boards, booklets, animated explainers and promo videos. Recording and editing on your computer cost nothing. Every service reserves its price before it starts and settles when it ends, and anything that fails is refunded in full. This guide shows you where your balance lives, what each service costs, what a plan gives you each month, how to top up, and how to read the ledger.5 steps · 3 minutes